Drupal Planet

Using Drupal's Webform Module to Create a Decision Tree

Using Drupal's Webform Module to Create a Decision Tree

Ever needed to create a "decision tree" or "Smart Answers" feature and didn't know where to start? It's pretty easy if you use Drupal's webform module and add conditional handlers for the confirmation settings (all through a few clicks in the webform UI).

Creating a decision tree is quite easy using the Drupal Webform UI. Here's the outline:

  1. Create the form
  2. Add all the questions that you want
  3. Use the "Conditions" tab in each question to set the conditions for what question shows where
  4. On the settings page for the form, under "Email/Handlers" add a handler for the confirmation page settings for each potential response in the decision tree.

Here's a video outlining the steps:

Join the "Something nice ..." newsletter

The full title is "Something nice, something quirky, something else".

I send an email once a week with something nice, something quirky, and something else that I think is interesting (all with a web development theme, of course).

Setting up Access Control with Drupal's Workbench Access Module

LocalGov Drupal Content Access Control

This is a short video for how to use the LocalGov Content Access Control Module, based on Drupal's Workbench Access module.

Many (if not all) councils have been asking for a way to do "access control", whereby only certain editors can edit certain parts of the website. I put together the LocalGov Drupal Content Access Control module so we'd have a defined way of doing this and all councils can have a similar approach. 

Here's a short video explaining how it works (which might help people outside of councils who also need to set this up). In short:

  1. Create a taxonomy called "Access Control".
  2. Add terms to this.
  3. Use this taxonomy in a "Workbench Access" scheme.
  4. Add editors and/or roles to the site sections.
  5. Add a field to content types that references the "Access Control" vocabulary.
  6. Enjoy!

Join the "Something nice ..." newsletter

The full title is "Something nice, something quirky, something else".

I send an email once a week with something nice, something quirky, and something else that I think is interesting (all with a web development theme, of course).

Proposed new Theme Settings for LocalGov Drupal unpublished Content

New theme Settings for Unpublished Content in a LocalGov Drupal website.

We added Drupal's default pink background to LocalGov Drupal's unpublished pages recently. It didn't go down as well as we might have hoped!

Drupal by default sets a pink background on unpublished nodes. We added this as a feature to LocalGov Drupal recently to distinguish between published and unpublished content. 

Editors were not very impressed with this because - especially on new websites - there's lots of whole sections that are unpublished. And when trying to preview a full section to stakeholders and nearly every page has a pink background, including all the items in entity reference fields and other listings, the site starts to not look like what was designed.

To get around this, I've proposed 2 site settings that can be enabled via the theme settings page if your theme uses LocalGov Base as its base theme.

  1. Turn off the pink backgrounds (handy if you just want to turn them off temporarily while demoing your content and then back on again once the demo is over)
  2. Add the word "Draft" to the title of any node that is unpublished (handy if the pink background is turned off more permanently).

Here's a short video to show it all working:

The code for this can been seen in this pull request on GitHub.

Join the "Something nice ..." newsletter

The full title is "Something nice, something quirky, something else".

I send an email once a week with something nice, something quirky, and something else that I think is interesting (all with a web development theme, of course).

Create a LocalGov Drupal Microsite Theme

Changing the design of subsites in Localgov Drupal

A short video demo showing how I quickly created 4 LocalGov Drupal Microsites themes.

When you design a site using the UI for the LocalGov Drupal Microsites platform, all the customisations are set as CSS variables attached to the body element, like so:

<body style="--color-accent: #2F72B1; --color-accent-contrast: #ffffff; --color-accent-2: #cce6ff; --color-accent-2-contrast: #20517e; --page-background-color: #fcfcfc; --spacing: 1.5rem; --color-text: #2e2e2e; --color-link: #2F72B1; --font-secondary: 'Inter'; --heading-font-weight: 400; --font-primary: 'Inter'; --heading-2-font-weight:400; --heading-2-line-height: 1.2; --header-background-color: #2F72B1; --header-text-color: #ffffff; --header-link-color: #ffffff; --header-link-hover-color: #cce6ff; --footer-grid-column-justification: space-between;">

You can then grab those variables, and set them in your microsite theme's variables.css file. 

body {
 --color-accent: #262626;
 --color-accent-contrast: #ededed;
 --color-accent-2: #262626;
 --color-accent-2-contrast: #ddc983;
 --page-background-color: #ededed;
 --color-text: #262626;
 --color-link: #003ecc;
 --font-secondary: "Public sans";
}

Now, you can use that theme across all your microsites and/or override it on a per site basis - making it a perfect starting point for you site(s).

I created 4 base themes based on the demo sites we created:


Join the "Something nice ..." newsletter

The full title is "Something nice, something quirky, something else".

I send an email once a week with something nice, something quirky, and something else that I think is interesting (all with a web development theme, of course).

Live Preview of Changing the Design of your LocalGov Drupal Microsite

Live Preview of Changing the Design of your LocalGov Drupal Microsite

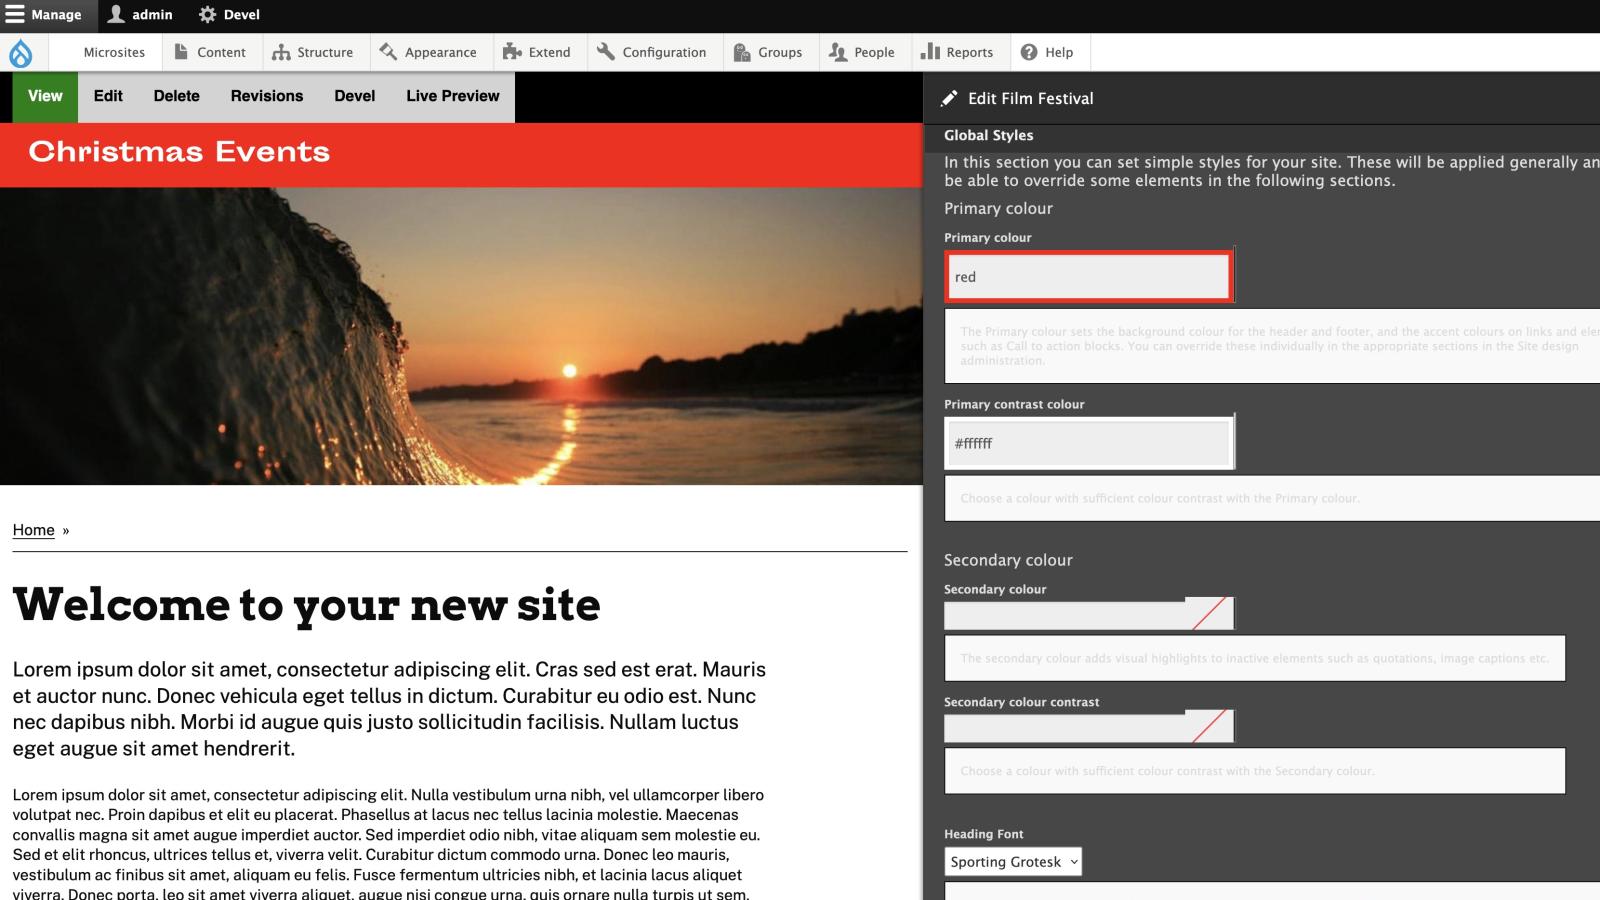
Update your microsite and see the changes in real time without having to publish them.

Following on from yesterday's post about a Very Basic Example of Editing Drupal Nodes in a Modal, here's a more expanded version to show how we can edit the design of a LocalGov Drupal microsite in a settings tray dialog and see the edits live without having to publish them.

The link is a bit more complex than yesterday's, as we have to set the renderer and some options.

<a href="/group/${micrositeId}/edit?destination=${currentNodePath}"
   class="use-ajax"
   data-dialog-type="dialog"
   data-dialog-renderer="off_canvas"
   data-dialog-options="{&quot;width&quot;:800}">
   Live Preview
</a>`;

I should probably change the hardcoded width and set it to a percentage-based width instead.

Once we have the link working, then we can work on the fields to create a correspondence between the field being edited and the values being updated in a live preview. This turned out to be a little tricky in the microsites context, since the fields being edited often update CSS variables rather than text. For that reason I only worked on three fields and will spend some time later thinking of a more generic solution. The code for this is available on GitHub.

Here's a short video of it in action.

Join the "Something nice ..." newsletter

The full title is "Something nice, something quirky, something else".

I send an email once a week with something nice, something quirky, and something else that I think is interesting (all with a web development theme, of course).

Very Basic Example of Editing Drupal Nodes in a Modal

Editing Drupal nodes in a modal
Editing nodes in a modal? Yes, so you can preview the content before you hit save!

I was playing with adding use-ajax class to a Drupal listing this evening, so I could open a node and edit it in a modal.

The reason I was doing this was because I was thinking about how we could preview making changes to microsites (colours, fonts, etc) in the LocalGov Drupal Microsites distribution. I think this approach is quite a nice and simple first attempt at an approach for that. 

The code to get the edit form in a modal was as simple as this:

<a href="/node/{{ node.id }}/edit" class="use-ajax" data-dialog-type="modal">Edit</a>

The JavaScript was very messy, so I won't post it. The general outline was: when the modal is open, if the value in the ckeditor changes, then update the corresponding field with the new value.

Here's a video of me editing some nodes; pretend instead of text, I'm changing the values for colours and fonts and layout, etc in a microsite.


Join the "Something nice ..." newsletter

The full title is "Something nice, something quirky, something else".

I send an email once a week with something nice, something quirky, and something else that I think is interesting (all with a web development theme, of course).

WTF is SDC in Drupal Core?

Unboxxing SDC Drupal core module

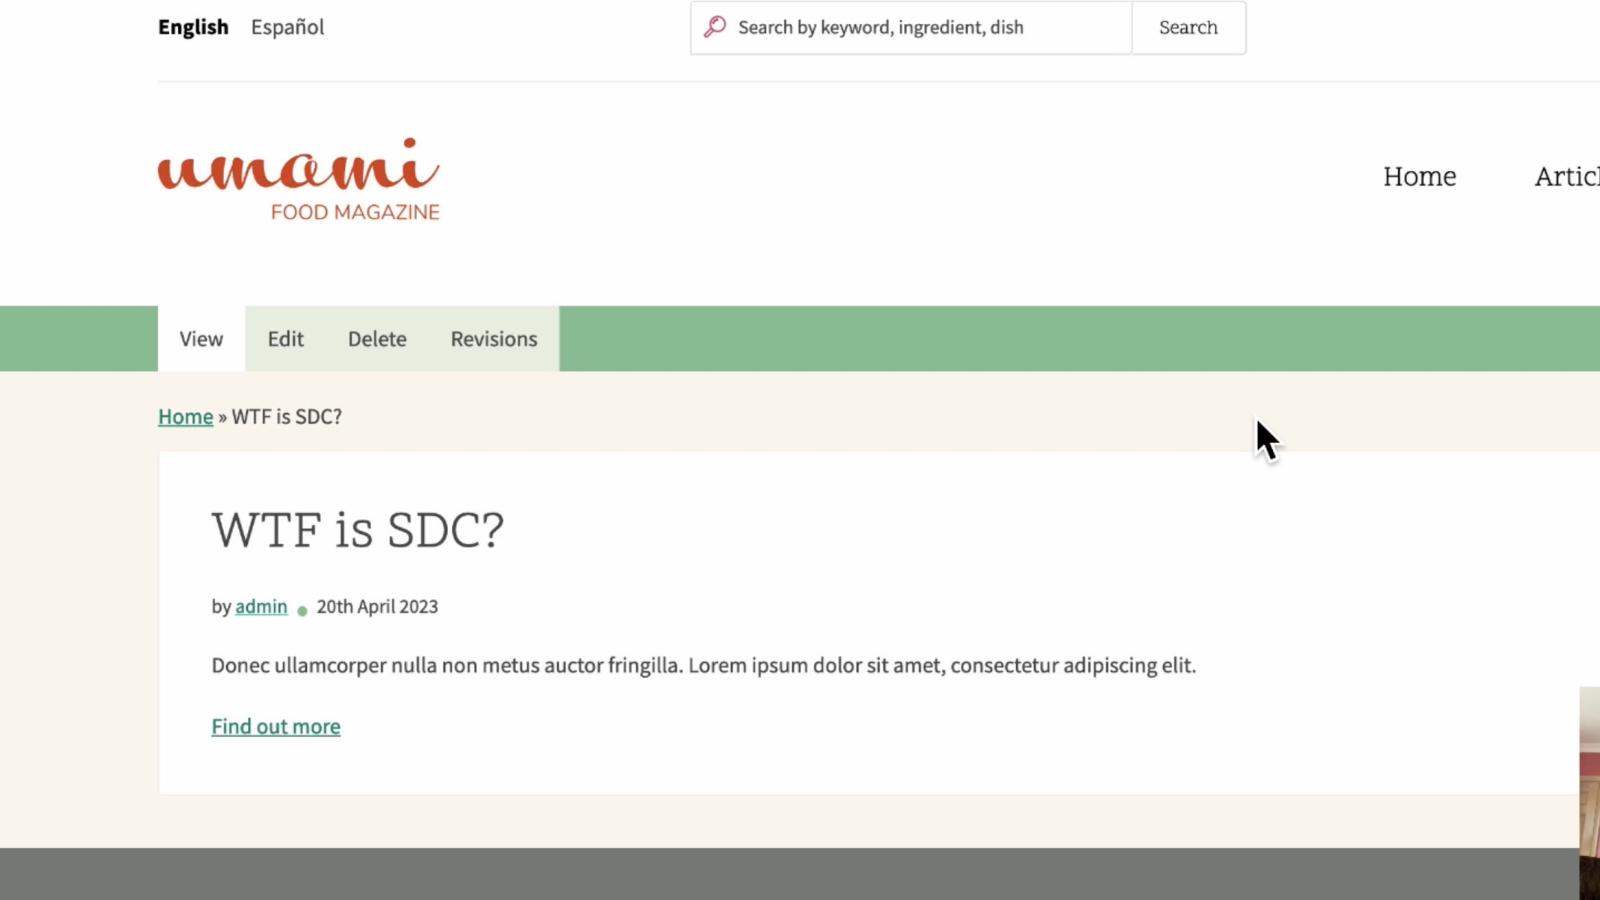
Single-Directory Components (SDC) is the biggest change to Drupal theming since the introduction of Twig. Here's an "unboxxing" walkthrough of how it works.

Join the "Something nice ..." newsletter

The full title is "Something nice, something quirky, something else".

I send an email once a week with something nice, something quirky, and something else that I think is interesting (all with a web development theme, of course).

Creating different styles for subsites within a Localgov Drupal website

Changing the design of subsites in Localgov Drupal

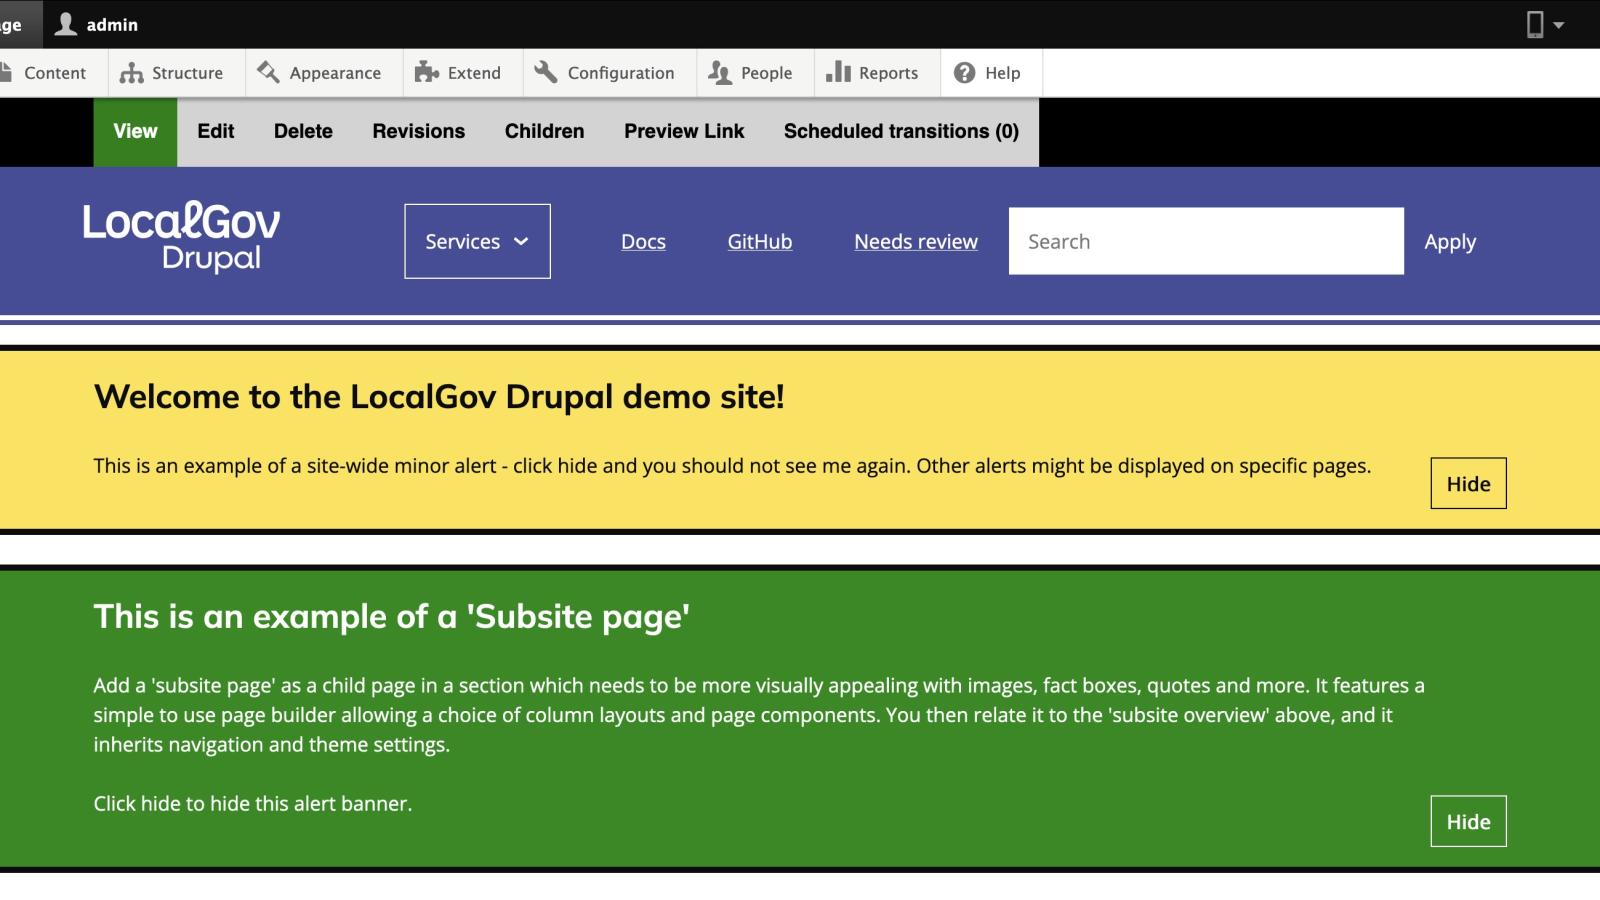
We've had lots of requests for changing the design of subsites in LGD. Here's how I'd do it.

Create a subsite, select the theme you want for it and ... hey-presto: you now have a different style for your subsite than the style of the rest of the site.

Join the "Something nice ..." newsletter

The full title is "Something nice, something quirky, something else".

I send an email once a week with something nice, something quirky, and something else that I think is interesting (all with a web development theme, of course).

Double Whammy! Upgrading to Drupal 10 and Gatsby 5 at the same time

Decoupling your frontend (Gatsby) from your backend (Drupal) is the Holy Grail. Change/update one without affecting the other. But what happens when both frameworks release a new version at the same time?

Honestly, this isn't the scare story that the headline and intro make it out to be. And there was about 5 months between the release of Gatsby 5 and Drupal 10, but I didn't have spare time to upgrade this site and also wanted to wait a little bit to make sure the plugins I was using were Gatsby 5-compatible.

Upgrading from Gatsby 4 to 5

There was a lot to upgrade here. Gatsby 5 needs Node 18, React 18, Gatsby Image 3, and lots more. Trying to get them all in position took a bit of trial and error between dependencies being locked in package-lock.json and deeper inside the node_modules directory. The short story is: delete your package-lock.json file, delete your node_modules directory, delete your .cache directory, and run a clean install.

Next issue, I am using esm for imports and running my local npm commands, but esm doesn't work with Gatsby 5, or works natively, or something like that I can't remember exactly. The fix for this was to rename gatsby-config.js and gatsby-node.js to gatsby-config.mjs and gatsby-node.mjs respecitely, then edit the files to work with the new syntax I needed.

Following that, I had issues with embedding images in the body field of my blogs. I use the Drupal media module to add images to my website and the media embed widget to embed them in my body field, however I don't want Gatsby to render the <drupal-media> tag, as that will just be empty in Gatsby land. Rather, I need to find the id of the media item that is being called, then use <GatsbyImage /> to render it (after finding/filtering it via a GraphQl query). The package I had been using for that was called React HTML Parser, but of course that doesn't work with React 18, so I had to remove that and use HTML React Parser (which looks like a much better package).

Finally, with that all working locally, I could push my changes to GitHub and let GitHub actions do it's magic to compile the site for me. Except, GitHub actions uses Node 12 by default. Grand, I'll move my site to Cloudflare pages ... oh no, that uses Node 16. Right, so I'll move it to Netlify. Actually, I probably could have moved it to Netlify, but then someone answered an issue I had replied to on GitHub with a way to use whatever version of Node you want with GitHub actions, and that worked a treat. Now, to upgrade my site from Drupal 9 to Drupal 10!

Upgrading from Drupal 9 to Drupal 10

Right, the easy part. Drupal has this romantic idea of easy updates from 8+. Upgrading from 8 to 9 proved tricky for me, until I eventually removed Devel module, but can't remember the exact issue. I had a similar issue with Drupal 9 to Drupal 10. My custom theme depended on Classy, but that is removed in Drupal 10. The fix for this was a dance around adding Classy/Stable to my composer.json so I'd have the contrib versions of these, running the upgrade, getting lost because there's issues with other things in the vendor directory that specify Twig 2 in their composer.json files. Then backtracking, uninstalling my custom theme (remember, I don't need it since I have a decoupled site), installing Olivero as my default them (it's beautiful, thanks to everyone who worked on it!), deleting composer-lock.json, deleting the vendor directory, removing any modules that were hanging around not being used such as Inline Entity Form and others, and running the update script. Which ... failed ... ouch! The problem this time? It wouldn't add YAML 6 because of an issue with Drush wanting YAML 4, then realising I was using Drush 10, but that doesn't work with PHP 8 (and is EOL in any case). Once I edited composer.json to require Drush 11, the script ran fine, the update when fine, and I, your humble author, had himself a snazzy Drupal 10 website.

And now...

It looks like my original idea behind decoupling this website was a good idea. It meant I could update my frontend Gatsby at my own leisure, with no effect on the backend, and could then update Drupal at my own leisure and even remove the custom theme without the frontend being affected. Win. Win.
Join the "Something nice ..." newsletter

The full title is "Something nice, something quirky, something else".

I send an email once a week with something nice, something quirky, and something else that I think is interesting (all with a web development theme, of course).

Simplified Drupal Field Template (but the same markup rendered)

Simplified version of Drupal field template

Here's a small edit to the Drupal field template we could make so it's much easier to read.

Everytime I look at the Drupal field template, I struggle with the conditions nested inside it - if label, if multiple, else not multiple but still label, etc, etc. ... so I thought, "why not make it simpler".

Here's the original field template:

{% if label_hidden %}
  {% if multiple %}
    <div{{ attributes.addClass(classes, 'field__items') }}>
      {% for item in items %}
        <div{{ item.attributes.addClass('field__item') }}>{{ item.content }}</div>
      {% endfor %}
    </div>
  {% else %}
    {% for item in items %}
      <div{{ attributes.addClass(classes, 'field__item') }}>{{ item.content }}</div>
    {% endfor %}
  {% endif %}
{% else %}
  <div{{ attributes.addClass(classes) }}>
    <div{{ title_attributes.addClass(title_classes) }}>{{ label }}</div>
    {% if multiple %}
      <div class="field__items">
    {% endif %}
    {% for item in items %}
      <div{{ item.attributes.addClass('field__item') }}>{{ item.content }}</div>
    {% endfor %}
    {% if multiple %}
      </div>
    {% endif %}
  </div>
{% endif %}

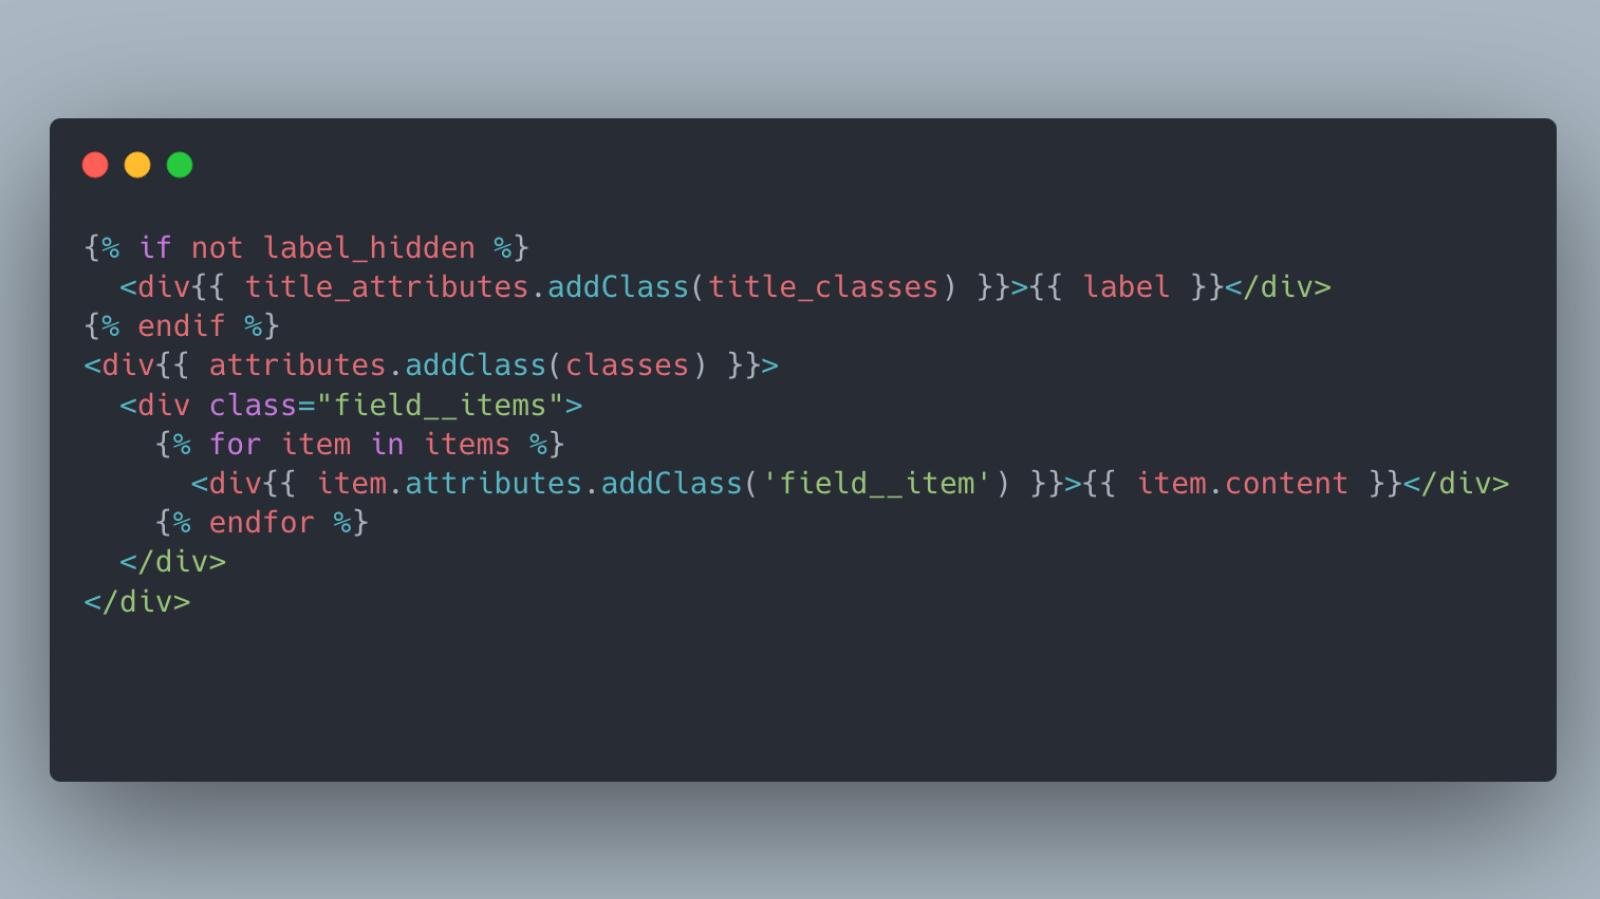
and here is my updated version which will render the same markup for us:

<div{{ attributes.addClass(classes) }}>
  {% if not label_hidden %}
    <div{{ title_attributes.addClass(title_classes) }}>{{ label }}</div>
  {% endif %}
  <div class="field__items">
    {% for item in items %}
      <div{{ item.attributes.addClass('field__item') }}>{{ item.content }}</div>
    {% endfor %}
  </div>
</div>

What's the difference? In mine, we do an explicit check for a field label and either render it or not. Following that, we render the field items, without checking if they are "multiple" or not. Now, this does cause a small difference with the original template - it means we always render a container div with a class of ".field__items". However, I see this as a feature. It means we get the exact same markup on single fields as we get on fields with multiple items.

Why is this a feature? Well, it means when writing our CSS and we want to target the immediate ".field__item", we don't have to do something like this:

/* If multiple */
.field--news-authors > .field__items > .field__item  {
  color: red;
}

/* If only one item */
.field--news-authors > .field__item {
  color: red;
}

Enforcing a consistency in our classes and having a much easier to read template is good.

Join the "Something nice ..." newsletter

The full title is "Something nice, something quirky, something else".

I send an email once a week with something nice, something quirky, and something else that I think is interesting (all with a web development theme, of course).